Growing mushrooms often sounds unappealing and time-consuming especially considering you didn’t preplan space for it in your backyard. In actuality, mushroom cultivation is pretty easy and can be done with very little space in your backyard.
For a minimal cost, you can yield pounds of fresh mushrooms for you to use in your kitchen. Depending on how much space and time you have will decide which species of mushrooms would be best for you and your yard.
Below are some different options you can choose from to best suit your needs. For all spawn needs, I highly suggest FungiAlly.com as a New England local company that produces organic and fresh mushrooms and also offers bags of spawn and kits to start growers off.
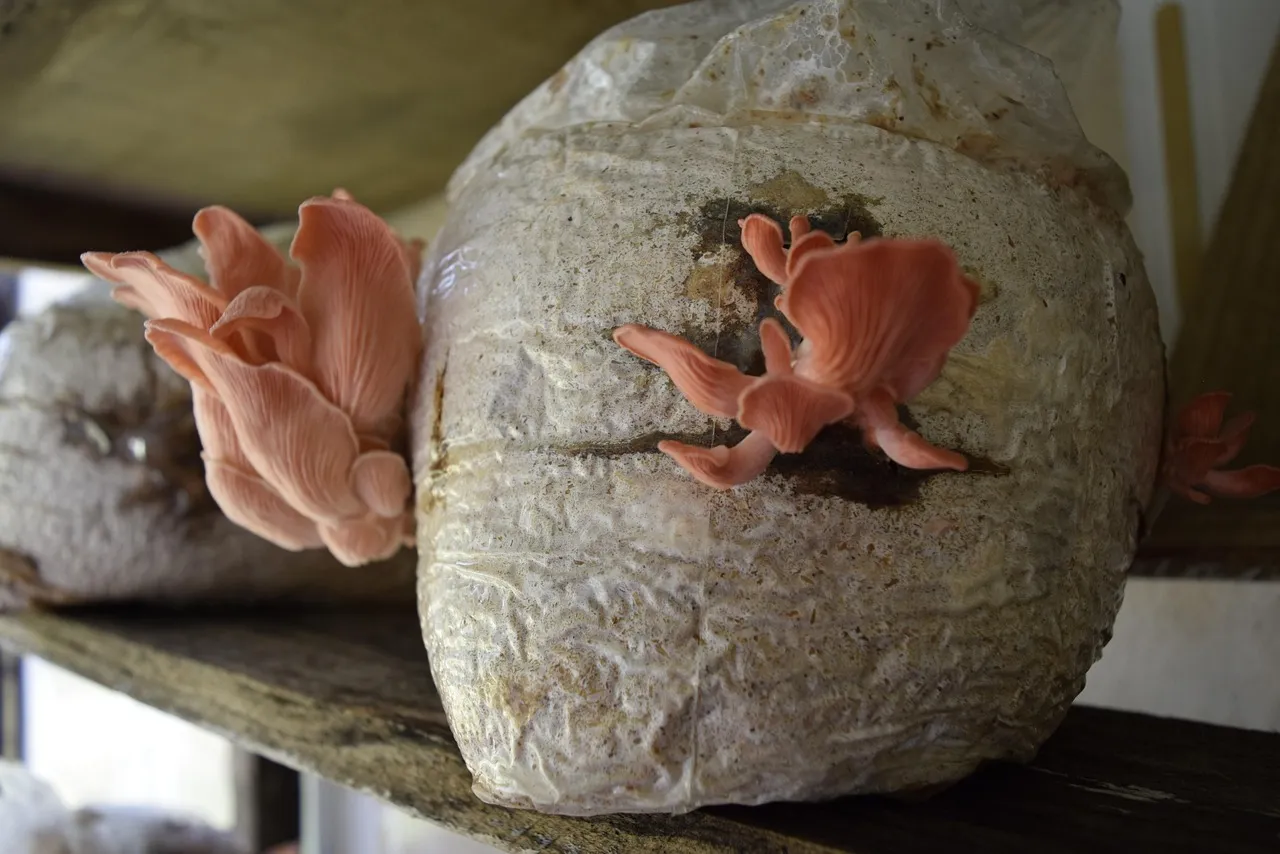
Oyster Mushroom Cultivation- (very little space, very little cost, roughly a month till harvest)
Oyster mushroom cultivation is a good option for beginner gardeners who don’t have much space and don’t want to spend much money on growing. For this type of cultivation, you’ll need: straw, plastic bags, and spawn
Oyster mushrooms can grow from the straw within a bag that sits efficiently in a small nook of your yard. To grow the oysters efficiently you’ll first need to treat the straw in order to lower the pH to kill off bacteria and allow for a clean substrate for the mycelium to grow in. You can do this in several ways the two most efficient and home-friendly ways are explained below.
Hot water pasteurization:
Using a 55-gallon drum on cinder blocks and turkey burner below, raise 30-gallons of water to roughly 180 degrees. Two burlap sacks of straw are then submerged and the heat is turned off and the barrel is covered. This creates an anaerobic space and all aerobic organisms die. After 5 days remove the sacks and lay the hay out on a table to dry this kills the anaerobic organisms.
Hydrated Lime Soak:
2-3 burlap sacks are placed in a 55-gallon barrel. 1 gallon of hydrated lime is mixed with water in a 5-gallon bucket, the lime is dissolved slowly and added to the 55-gallon barrel as its filled with water. The barrel is filled until the straw is left to soak for 16 hours, it is critical to use hydrated lime with magnesium content below 10%. Then the straw can be removed and dried on a table.
In experiments, the hydrated lime soaked increased yields and was more effective in killing bacteria. Once the straw has been treated you can begin the process of starting to grow your mycelium. Below is a step by step guide to Oyster growing.
1. Chop the straw
By chopping the straw, you are crushing the straw’s cell wall making it easier for the mycelium to access the nutrients. Chopping the straw makes the particle size smaller allowing a more compact substrate. A relatively small gap of 1-2 inches between pieces of straw is like the Grand Canyon for mycelium and wastes time and energy, by minimizing air pockets you can increase yield.
2. Treat the straw
Using the methods listed above treating straw kills off any bacteria that could fight against the mycelium and prevent the mycelium from growing.
3. Inoculate
Add spawn into the treated straw, this material is used to introduce the mycelium into the substrate, layering the bag with a straw, then mycelium, then straw, and so on to allow for the evenest distribution.
4. Incubate
Incubation should ideally occur at 75 degrees for about 3 weeks depending on the inoculation rate. Bags should be placed with at least a palm distance between them to prevent overheating. Somewhere with the partial sun but shade as well is best, if it gets too hot in the bags the mycelium will die.
5. Fruit
There are 4 parameters to be conscious of for fruiting: light, humidity, temperature, and CO2 levels. For most oyster mushroom species, a well-lit room at 85-90% humidity and 65 degrees is optimum. This can be created by being placed behind a shed with the partial sun for at least 5-6 hours a day for outside growers.
6. Harvest
Harvesting typically occurs 5-10 days after the substrate is moved into fruiting conditions. Mushrooms should not be harvested before the caps completely flatten, removing with a clean blade is best for contamination reasons.
Wine Cap Mushroom Cultivation
Good for around the edges of a pre-established garden, medium cost, take 6-9 months for fruiting
Wine caps are delicious and this is perhaps my favorite type of mushroom cultivation, and although it takes a bit longer I believe the yield is worth the wait. They are very easy to cultivate and do best if you already have a garden where you can put a perimeter of woodchip around to grow your wine caps.
It’s also being studied; that growing the wine caps adjacent to your garden could create a symbiotic relationship that boosts the yield of vegetable crops as well. For your wine cap bed, you’ll need: Cardboard, woodchips (lots), and spawn.
The best way to go about creating a win cap bed is by digging just barely into the ground around your garden maybe 1-3 inches at most. Begin by laying pieces of cardboard down on the slight trench you’ve dug.
The process of adding spawn and woodchips is done like a lasagna. On top of the cardboard sprinkle a layer of spawn, over this you can add a layer of 2-4 inches of woodchips, over this more spawn can be sprinkled.
Keep going for 3 or 4 intervals of wood chips and spawn creating a small mound around the perimeter of your garden. This can now be tended to as the rest of your garden does with daily watering. In roughly 6-9 months your wine caps will begin to fruit. It’s best to start planting in early spring so you’ll receive a yield in the fall. This process can also be done without the pre-established garden, under a conifer tree in some shade is also a good place to grow a wine cap bed.
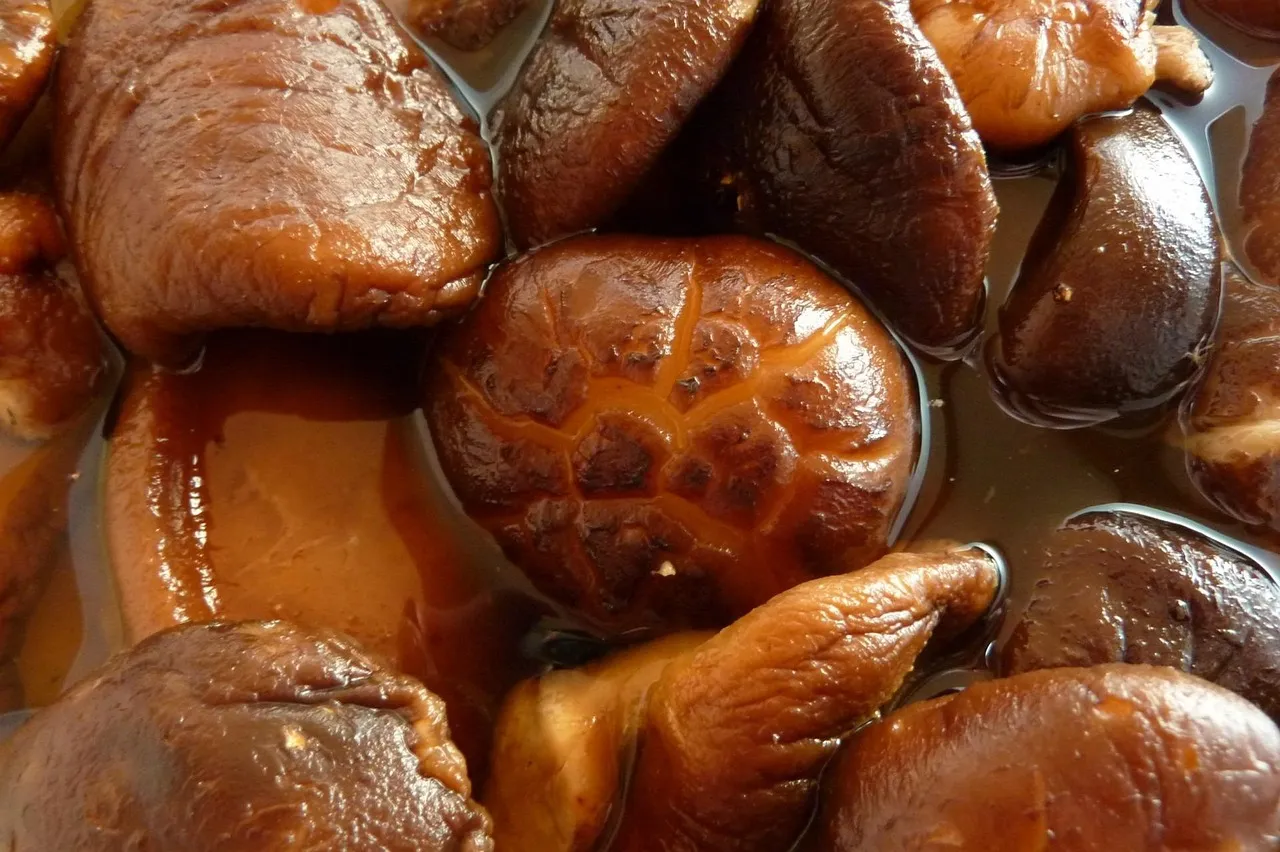
Shiitake and Lions Mane Cultivation – (Low/medium space, medium cost, month- 2 months for fruiting)
Shiitake and lion’s manes mushrooms are grown on logs. Both species prefer hardwood, lion’s mane specifically like Beech. To fruit these mushrooms, you’ll only need big healthy wood logs and plug spawn (can be bought on fungially.com)
You can set up the log growing area in a shady place in your yard. Drill 1-3 inch holes into your logs using a power drill. Then plug the holes with the plug spawn. The best setup is to lay two logs down then place two more logs going to opposite way on top to form a crisscrossing pattern.
It’s best to do this in early spring and expect the shiitake to fruit around September but possibly sooner if they grow well. Soak the log weekly to make sure it stays wet enough for the mycelium to take over the log. (weekly rain can be sufficient but in dry conditions, they’ll need additional watering).
Pictures of what to expect plug spawn to look like and the crisscross method of log stacking and how they’ll look when they fruit.