Container Gardening – Practical Tips About Container gardening
Articles about container gardening abound – from the owner’s perspective. Time for a change, time to look at containers from the plants’ perspective. The garden pot or container is an enclosed world that can be the life or death of a plant. Let’s take a closer look.
[mks_icon icon=”fa-exclamation” color=”#38af36″ type=”fa”] Container Drainage Holes
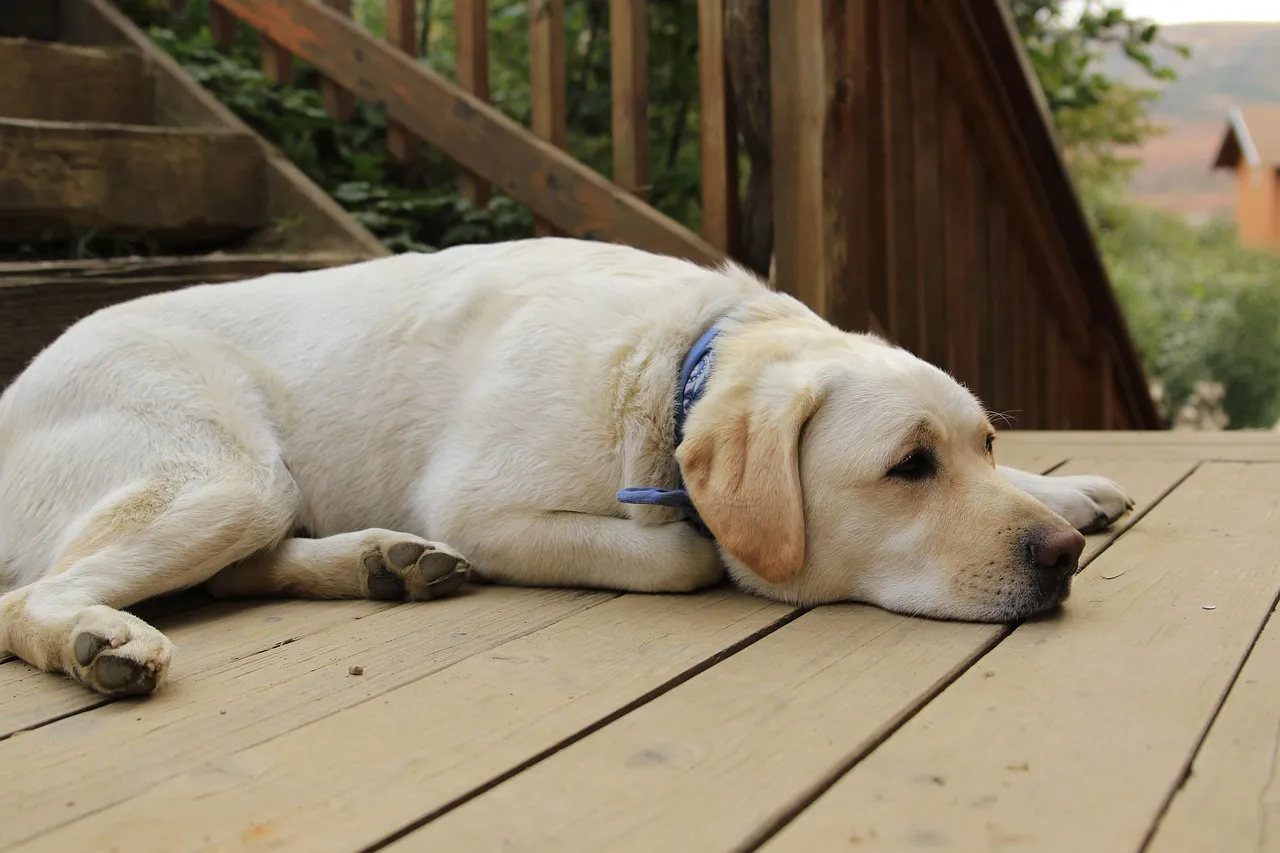
The first paragraph compares three different garden pots for the deck or patio plant, a 7.5 litre pot and two 30 litre pots. The large pot is the standard 30 litre container. I think you have noticed how few drainage holes it has in comparison with the smaller pots, especially given the volume of the pots. Plants potted in this standard container could very easily drown because of being waterlogged. The remaining 30 litre pot shows the author’s handiwork with a 1 inch drill! The key to providing good drainage in any container is not so much the number of holes as their surface area.

[mks_icon icon=”fa-exclamation” color=”#38af36″ type=”fa”] Fewer, Larger Holes are Preferred
Have you ever noticed a slight suction when you lift your container? Or a definite ring of water that mirrors the base area of your pot that remains long after watering? This is due to your container holes being too small for the watering received. When drainage holes are too small a miniscus or skin forms across the gap which can reduce water escaping. Add to this the containers’ weight and the minute gap between the container and its support surface, (deck, patio or bench) and the container is almost hermetically sealed! The miniscus can’t form across larger holes.
[amazonjs asin=”B0098PNF6Y” locale=”US” title=”Viagrow VHPP500-10 5 gallon Round Nursery Pot, 10 Pack”][mks_icon icon=”fa-exclamation” color=”#38af36″ type=”fa”] Large Containers Need Special Care When Filling
It’s common practice to put drainage material over the holes when filling pots, then covering the base drainage with whatever compost the plant requires. This is fine for pots 10 litres or under. But larger, deeper pots need to be filled differently with graded layers of compost.
If a 30 litre or larger pot is filled with the same compost throughout, the lower levels of the compost will compress over time with successive watering. With a large standard pot with standard-size holes, water will quickly drain from the top but collect in the lower half through the season. The gardener will ‘finger check’ the surface – it feels dry – and add more water! Thereby exacerbating the poor plants’ demise. The same gardener is later mystified as to why his large specimen plant succumbs during the winter.
The trick to filling larger pots and containers is to fill in layers containing increasing amounts of drainage towards the base. When filling, use about 70% drainage material in the lowest 3″ or 75mm then, in the next 6-12″ (150-300mm), depending upon the size of your pot, use about 40-50% drainage material/compost. Finally, in the top third, reduce the drainage to about 10%. This grading enables your roots to breathe more easily and even makes your pot lighter.
A good drainage material is ‘perlite’ or any similar inert drainage material that’s lightweight. Stones and gravel can be used. However, these are generally alkaline and most plants potted in larger containers prefer slightly acidic compost – azalea, bougainvillea and canna for example. Also, stones and gravel are heavier to pick up! You will notice the difference in 30, 60 or even 90 litre pots.

[mks_icon icon=”fa-exclamation” color=”#38af36″ type=”fa”] Watering and Feeding Pot Plants
Pot plants prefer to dry out a bit in between waterings, just so the compost is ever-so-slightly moist but not ‘arid’. Even if it’s just a couple of days, it gives the roots a chance to breathe. When watering in summer take care to be sure it gets there! Water, pause, water more, pause again, water again is more effective than the occasional deluge that simply runs on to the deck and does no good at all.
Try to avoid the ‘glut-famine’ regime often recommended on feed packets which can be stressful to plants. Far better to reduce the amount of feed offered in diluted form to your plant but add it more frequently, say every week.
[mks_icon icon=”fa-exclamation” color=”#38af36″ type=”fa”] Avoid Stagnant Soil
No matter how well a pot plant gets fed and watered, the soil will stagnate and some roots will die off. It’s always a good idea to periodically check your potted root systems , remove unhealthy looking roots and about every three years renew the soil.

[mks_icon icon=”fa-pagelines” color=”#38af36″ type=”fa”] Six Tips for Successful container gardening
It looks simple enough. Pour packaged potting soil mix into a container, plop a few plants in the soil and wait for the beauty or vegetables to happen naturally. Container gardening is almost that simple, but by adding these six tips to the planting mix, you almost a shoe-in for container gardening success.
[mks_icon icon=”fa-exclamation” color=”#38af36″ type=”fa”] Location, Location, Location
You can purchase the most expensive and healthiest looking plants at the garden supply store, but if you plant them in a container that is in the wrong location, they will die the same death as cheap plants. Make sure you container is in the right location for the plants you place in them. Find out if the plants need full sun or partial sun or shade and place container in the right location for plant success.
[mks_icon icon=”fa-exclamation” color=”#38af36″ type=”fa”] Use Slow Release Fertilizer
Before planting anything in the container, mix some granulated, slow release fertilizer into the potting soil mix. After the plants are planted and begin growing in the container, use water soluble plant fertilizer at half strength each time you water the plants.
[amazonjs asin=”B00GTDGMHC” locale=”US” title=”Osmocote Plus Outdoor and Indoor Smart-Release Plant Food, 8-Pound (Plant Fertilizer)”][mks_icon icon=”fa-exclamation” color=”#38af36″ type=”fa”] Pack Them In
When planting flowers or vines in a container, be generous and pack them in the container tightly instead of spare planting and waiting for the plants to grown into the container. Packing them in the container provides instant beauty and the plants can easily be pruned or re-potted a few months down the road.
[mks_icon icon=”fa-exclamation” color=”#38af36″ type=”fa”] Morning Watering
Always water container plants in the morning so the leaves will be dry by nightfall. Wet or damp leaves make the plant more susceptible to disease. Container gardens have to water more frequently than in-ground gardens because the soil dries out quicker. Check container soil and water anytime soil is dry to the touch. Remember to use low water pressure hose nozzle.
[mks_icon icon=”fa-exclamation” color=”#38af36″ type=”fa”] Good Water Drainage
Containers must have good drainage to prevent the soil from becoming water logged and rotting the plant’s roots. Start with a good draining potting soil mixture and containers with sufficient drainage holes in the bottoms. Place a coffee filter or small piece of screen over the drainage hole inside the pot before adding the potting soil to ensure drainage hole remains unclogged and to prevent the loss of potting soil.
[mks_icon icon=”fa-exclamation” color=”#38af36″ type=”fa”] Deadhead Weekly
A once per week deadheading session will keep container plants looking good and growing strong. Regular deadheading encourage plants to fill out and produce more blooms. Pinch or cut off all old blooms weekly.
[mks_icon icon=”fa-pagelines” color=”#38af36″ type=”fa”] Container Gardening Tips – Plan and Choose Plants
Creating a container oasis is easy and fun but will be most successful when planned. As the experienced gardener knows just about any type of container can be used, it’s just a matter of working with the existing area or landscape. Choosing the plants requires that the gardener has planned his project or at the very least has an excellent visual plan.
Making a container garden is a bit like trying to determine which came first the chicken or the egg. In planning the container sizes and locations the gardener also needs to consider the plants. Will the plants be annuals, perennials, small shrubs, herbs, shady plants, full sun…get the idea? Usually plants can be found for any type of pot and locations but do keep plants in mind when planning and buying pots.
Visualize how plants and containers will be arranged; use clusters of varying sizes and colors to create a cozy and welcoming atmosphere as a backdrop to the plants. Once the plan for the containers and their location has been made it is time to plan the garden plants.

Image ID:75473989
Copyright: Claire Norman
[mks_icon icon=”fa-exclamation” color=”#38af36″ type=”fa”] Mix and Match Plants
Select a range of plants with various growing and bloom times to extend the colorful growing season. Just as great works of art require preparation and planning so does the garden masterpiece. Don’t make the costly mistake of rushing to the garden supply center and begin grabbing plants for the container garden. The beautiful colors, blossoms, and scents can quickly end in plant tragedy if the plants are not selected with planning and care.
Container locations will impact plant selection – Shady plants might be needed for areas that are on recessed porch areas while container placed on steps might need more sun tolerant plants. Knowing the planned location is a must before buying plants for the container garden.
Select plants that need the same amounts of water – Don’t mix plants that need daily watering in the same container with plants that need to dry out before re-watering. Save plant life and frustration by researching plants that will cohabitate nicely.
Look at plant heights – Plan on planting varying heights in the pots; taller growth plants to the sides or back and working plant height to trailing or low growing plants in the front of pots.
Plan bloom times and growing seasons – Mixing in spring bulbs with summer annuals and green ground covers will make the containers colorful year round. When planning flowering plants, look for different growing seasons, bloom times and mixing both perennials and annuals for longer lasting color and impact.